Friday, 3 July 2020

Passion flower


I have been busy making a Passion flower. Have been wanting to make one ever since I got the book Felting fabulous flowers by Gillian Harris. I have made a few of the projects from this small book which has lots of information on techniques and step by step flower projects. I got mine on Amazon uk, link below.


Felting Fabulous Flowers


It’s an awesome book and I have gone back to it many times in the two years I have had it. The only problem for me is I use acrylic fibre which doesn’t wet felt. The book is a mixture of wet and needle felt so I adapt where I need to.


I made my prefelt by needlefelting. In the book wool is used so she makes prefelt by wetfelting, I can’t do this with acrylic fibre so I set up an audio book and just stab away at my felting mat which is covered in fibres. I made extra so I could make stamens by cutting them 2mm thick from a rectangle of felt. 


Two problems occurred. 


Firstly upon ironing the petals I had cut out from the prefelt they became too flimsy and see through. I decided to attach them to another layer for structure and strength. This gave me more work to do but was worth it as the petals are now pleasingly substantial. 


                           Two layers of prefelt needled together.


The second problem was the stamens. When cut they became very delicate and broke in places. As you cannot just roll damp soapy acrylic fibres in your hands I had to find a new way to make a long strong stamen.


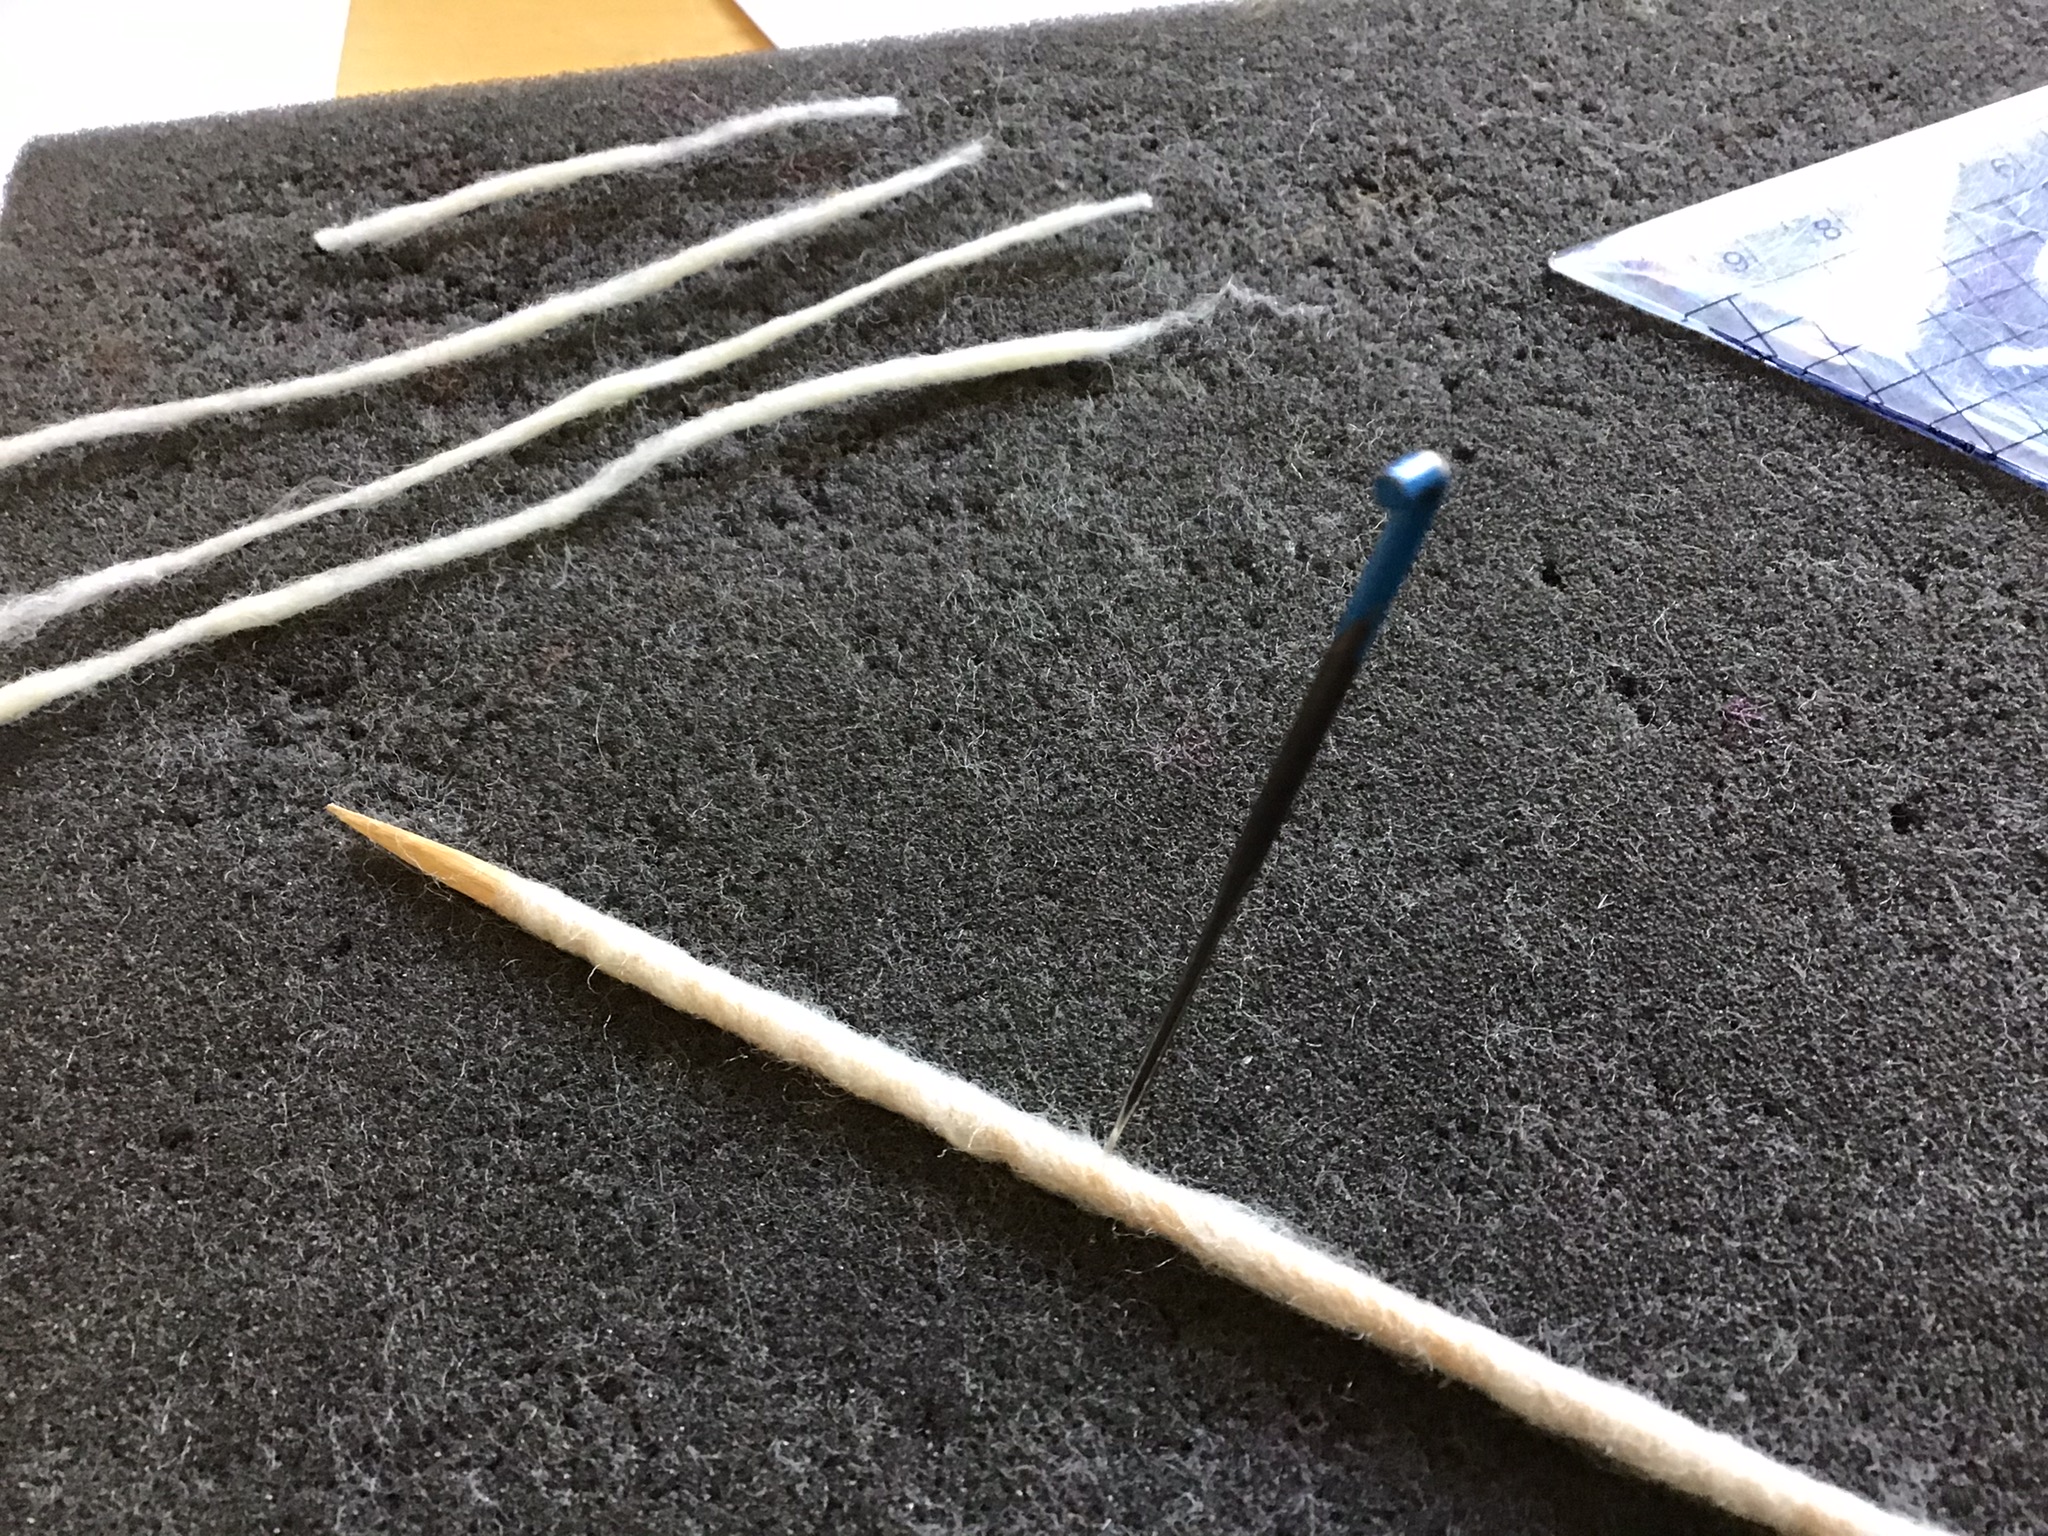
I decided to use a method I have used before to create lengths of fibre. This involves wrapping fibre around a long thin bbq skewer and stabbing around the skewer carefully to join the fibres together( be careful not to break your needle on the wood). When it’s felted push it off the skewer. You will be able to stretch it slightly to get a thinner rope. I then dipped the whole length in starch and left to dry. 


I joined the two sets of petals by adding more fibre in the centre . I then cut up the stamens to 4mm and coloured them with blue and purple sharpie pens. I then felted the stamens around the centre. On top of this I felted a green circle with an aubergine ring.  


I then followed instructions to make the five and three pronged stamens, these were glued in place. A few touch ups where the purple hadn’t taken and done. 


Thursday, 11 June 2020

Potato printing


I have been keeping myself busy and inspired by using the WEA adult learning website. https://www.wea.org.uk/
So far I have done paper mache,needle felting, mixed media and rag rugging (hence the rag rug flower)
Today was printing....with potatoes!!!


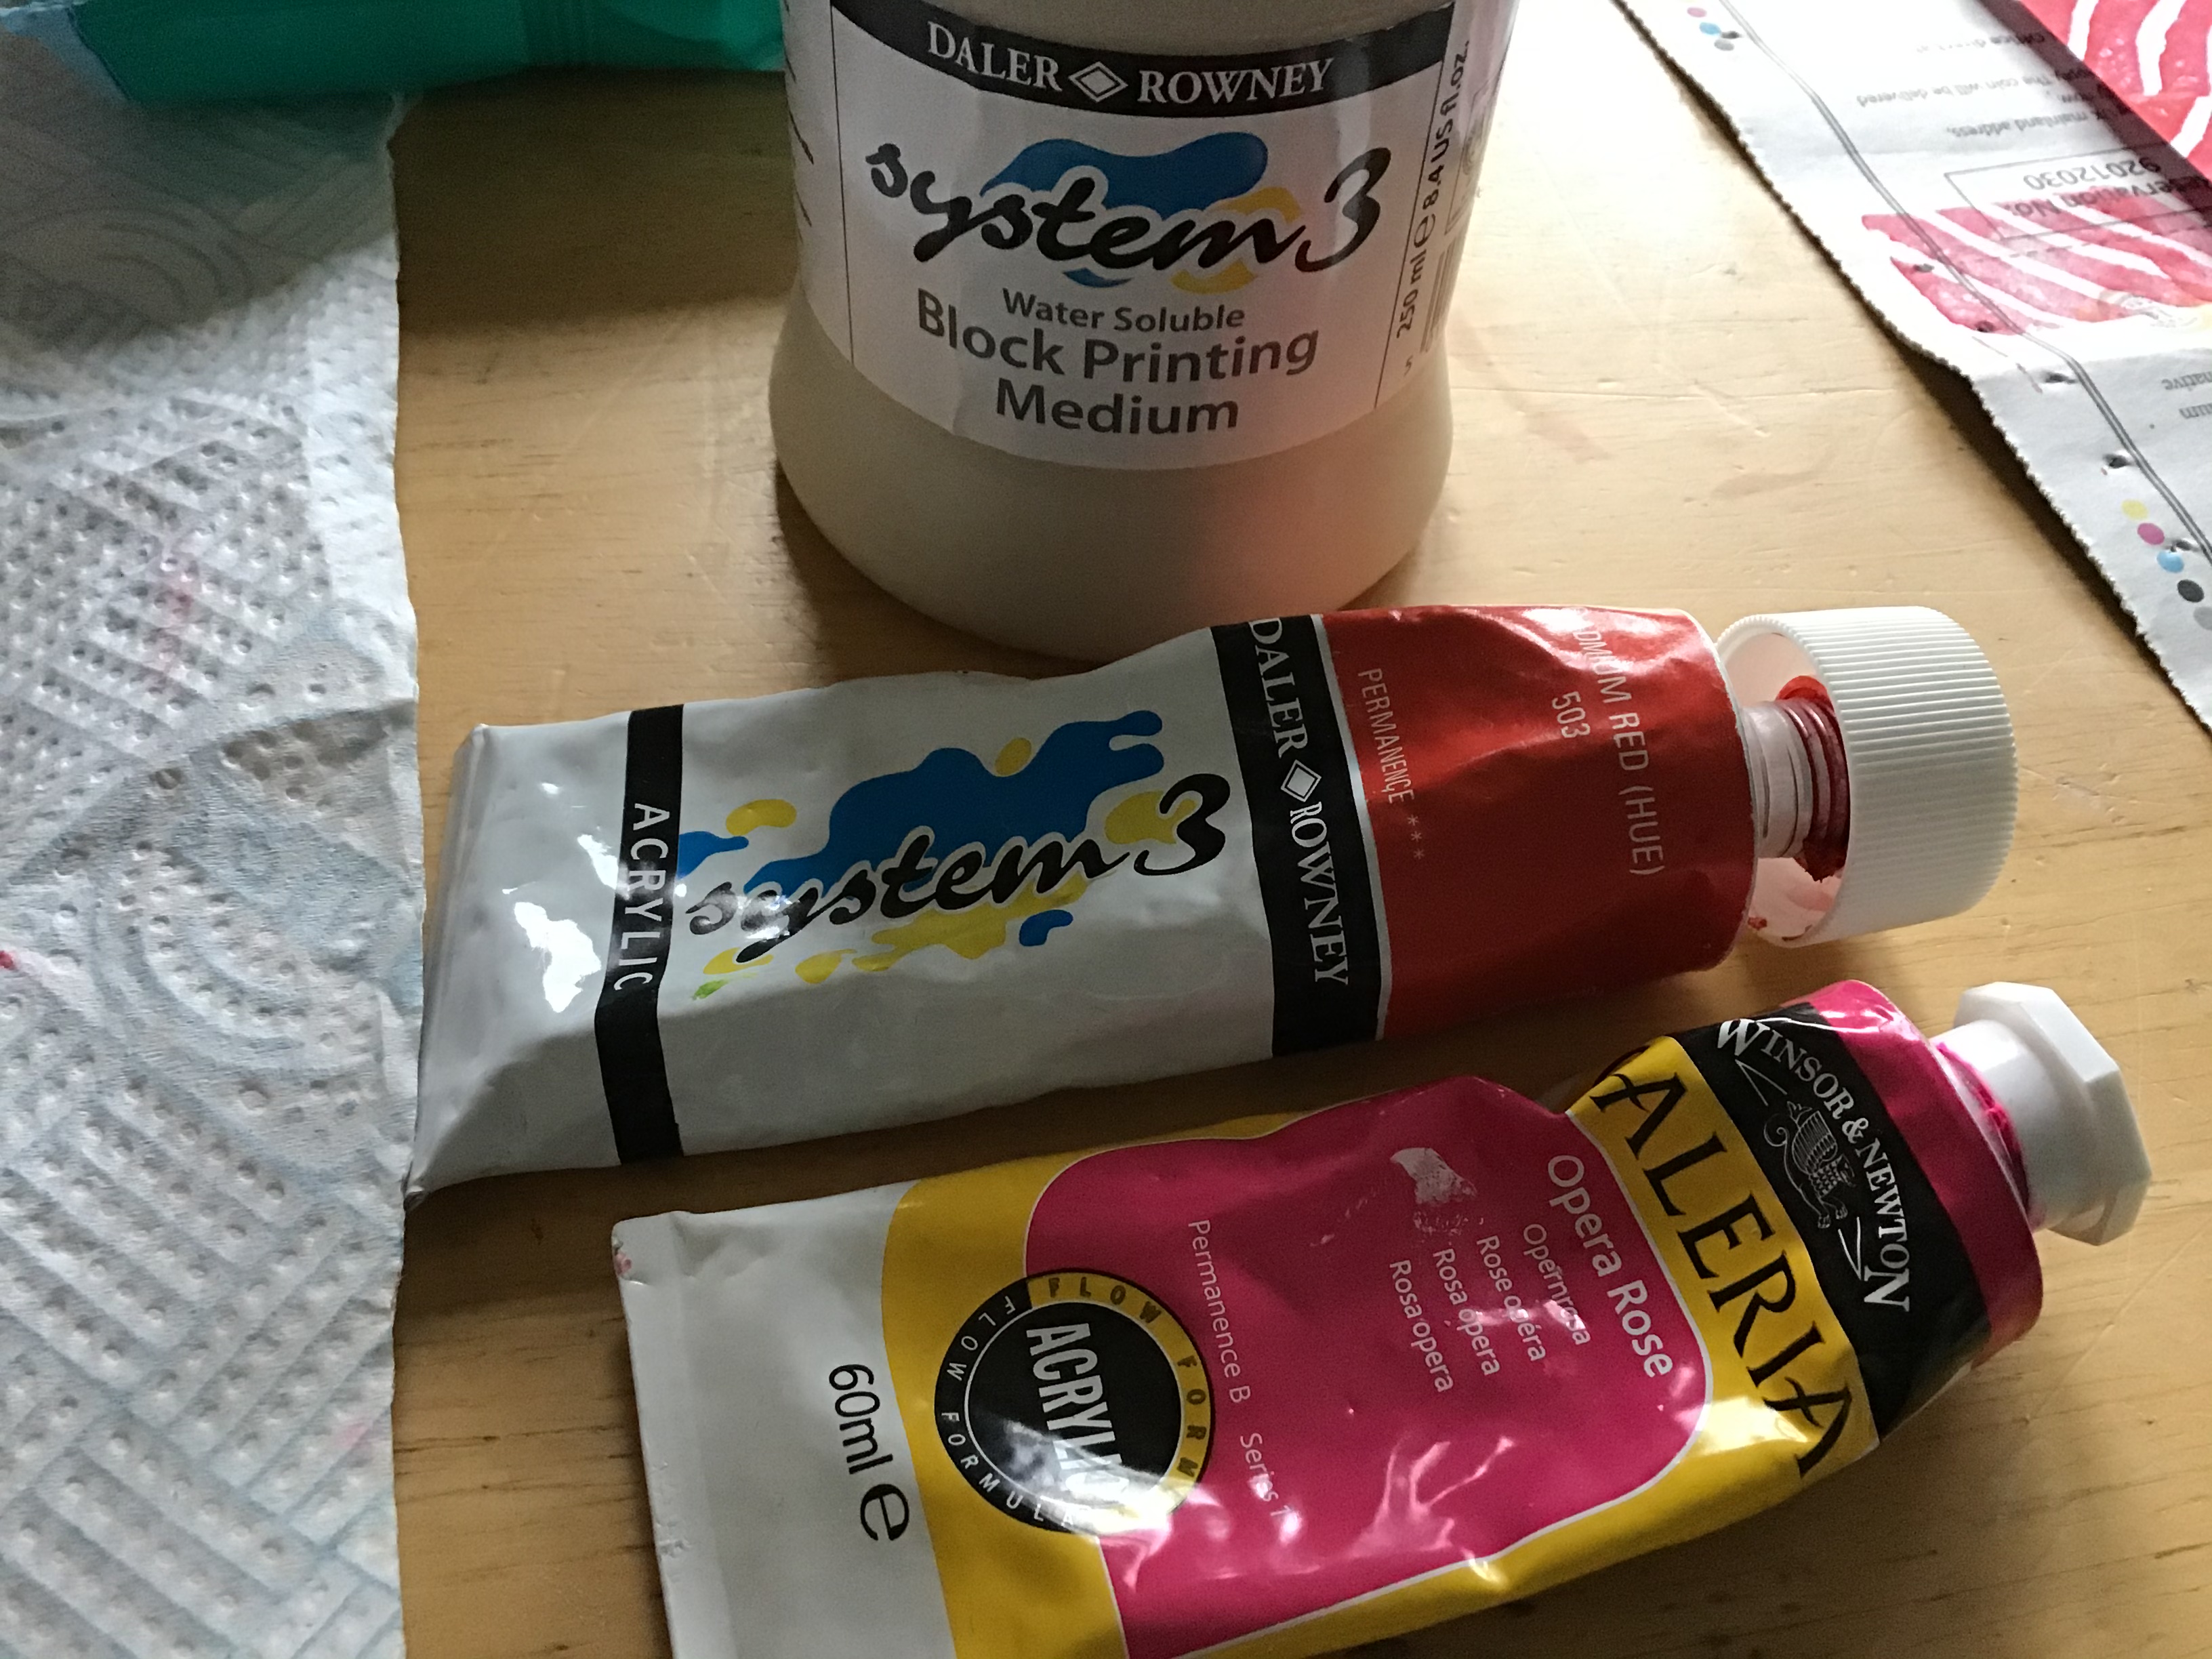
I used acrylic paint mixed with system 3 block printing medium from Specialist Crafts. You use 1.5 parts medium to 1 part acrylic paint, I used galeria opera rose.


My first print run was a little disappointing 


I then mixed in some red acrylic paint Daley & Rowney system 3 in Cadmium red.


Much better,let the playing begin.....


What a fun way to spend a cold blustery June afternoon. Time for tea and biscuits now.


Tuesday, 9 June 2020

Rag rug flower

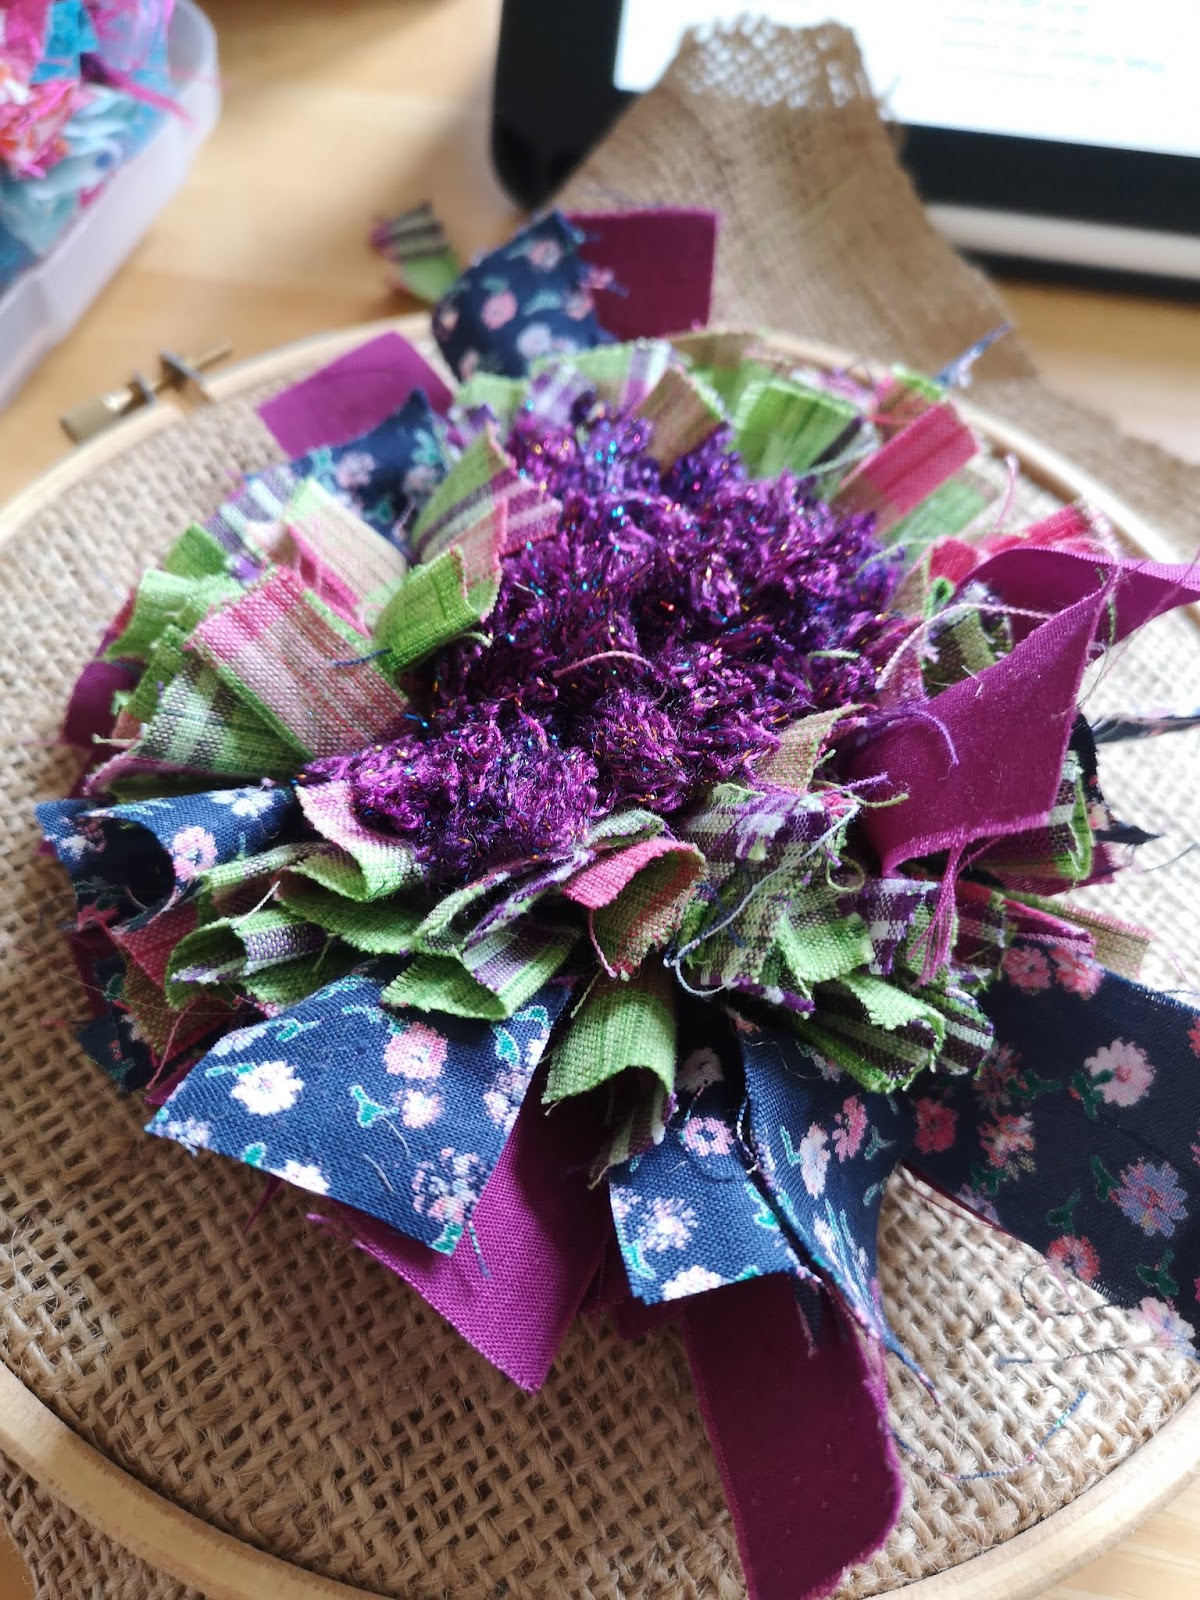
I’ve been playing with rag rugging flowers, something I first did when my craft group yarn bombed the centre of Peterborough in 2016 and they needed large fabric flowers quickly. I don’t have the pictures in situ but these are the flowers I made. 


 These are made by using the rag rug technique, basically pulling 1cm strips of fabric through hessian and building up the flower shape. You do not need to knot the strips in this case as the tightness of the strips next of them hold them in. It’s important therefore to keep your strips very close together. I did cheat later and use glue!


I stuck a Pom Pom in the centre and glued the back to strengthen.


Here the flower is almost done but needs a trim.


I use netting as the last two layers to give the flower some extra floof!

When finished take the flower out of the hoop and trim the hessian.


Glue the ends of the hessian at the back and cover with felt.


Turn over and your flower is finished. It could be used as a fascinator, brooch or framed


x

Thursday, 4 June 2020

Recycled tin shrines

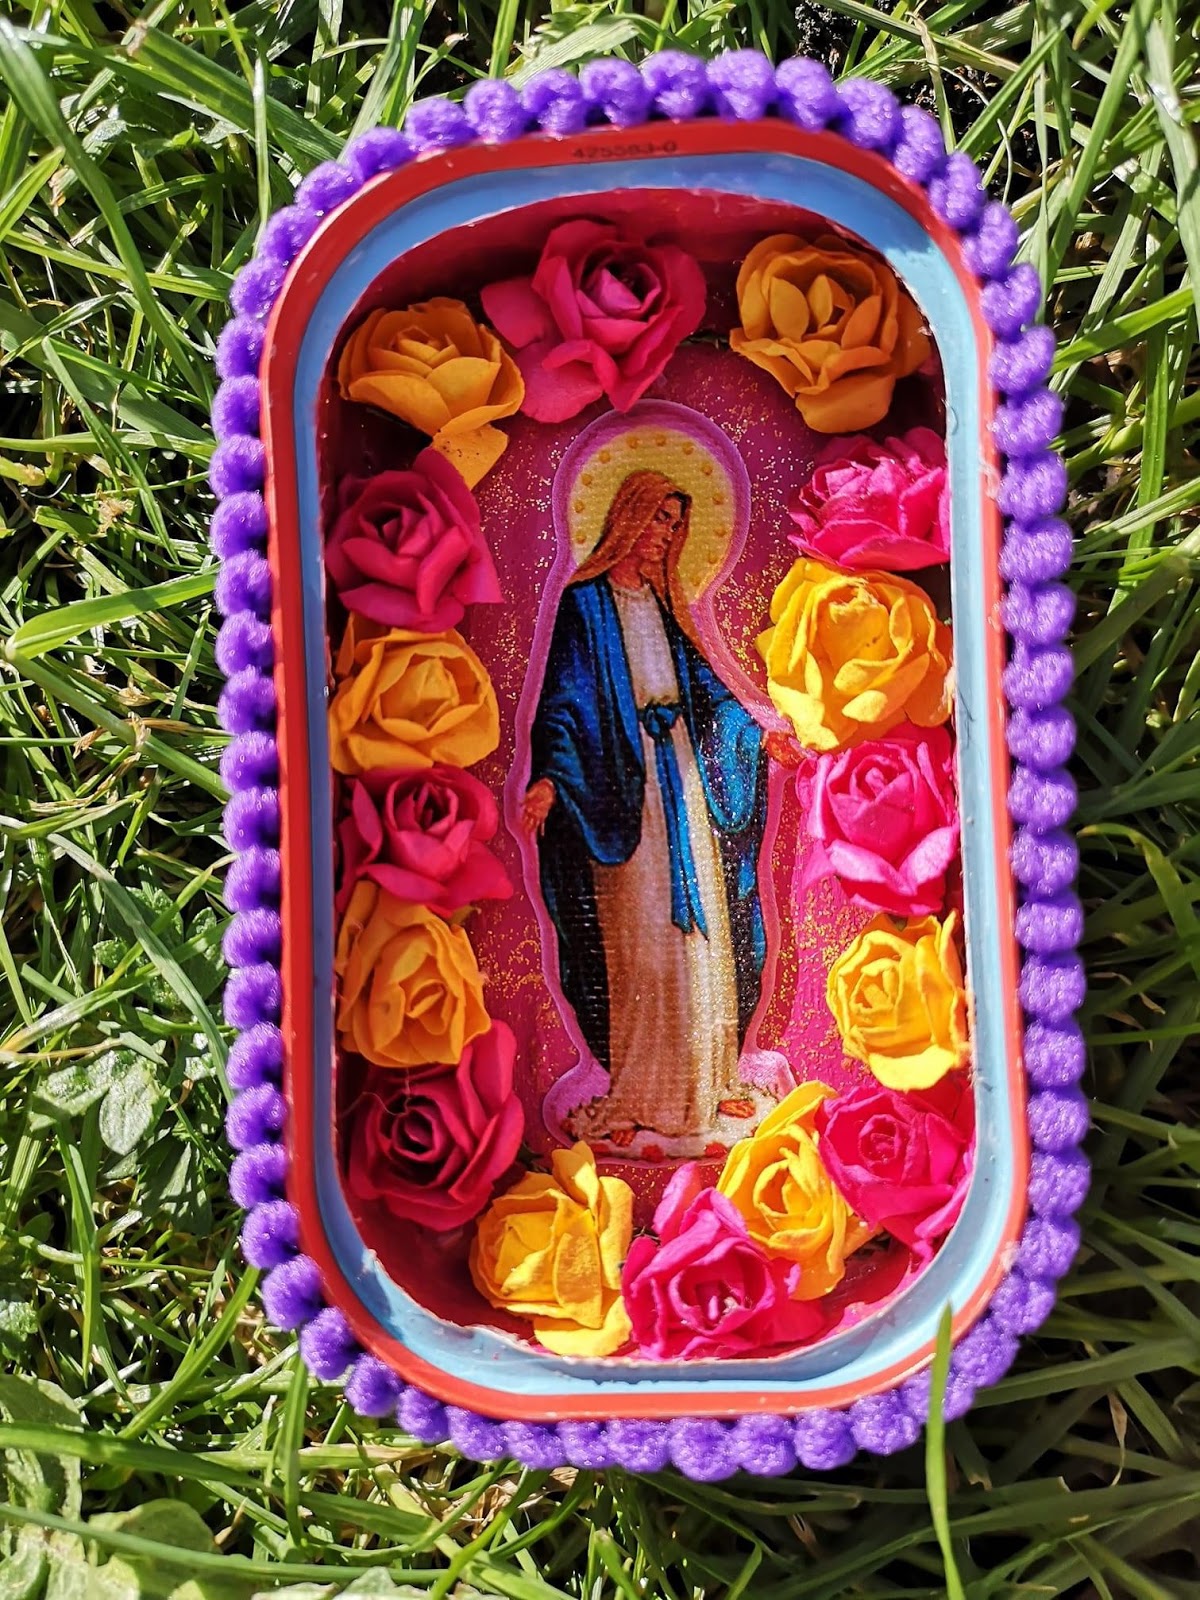
I am playing with the idea of using recycled tins to make mini shrines. My first mini shrine is from a sardine tin. It’s the perfect shape.

Sardine tin shrine

You will need

Cleaned out sardine tin.
Gesso
Household emulsion
Glitter glue(optional)
Mini paper flowers with wired stems (I used 16)
Religious icon, puffy sticker, I got mine from Poundland a couple of years ago (you could used a printed image instead.)
Mini Pom Pom trim.
Glue gun

Method

Paint the inside of tin with two coats of gesso to help the paint stick.
Paint 3 coats of emulsion letting it dry thoroughly between layers.
Paint with a layer of glitter glue.
Stick image in bottom of tin.
Twist the flowers together in a small oval, with glue gun, stick flowers around inside edge.
Stick Pom Pom trim around edges.

You could glue craft felt on the back and sides but I like the kitchness of the tin.

I am now looking at my tins in a different way. My next shrine is in a lid from a pickle jar!


                          Flowers twisted into a wreath


 Pom Pom trim and braids.


Finished mini shrine, who would have thought this was from a lid off a jar of pickle!