My latest idea was to make a conjoined sun and moon face with needle felting. I sketched out my ideas and got going.

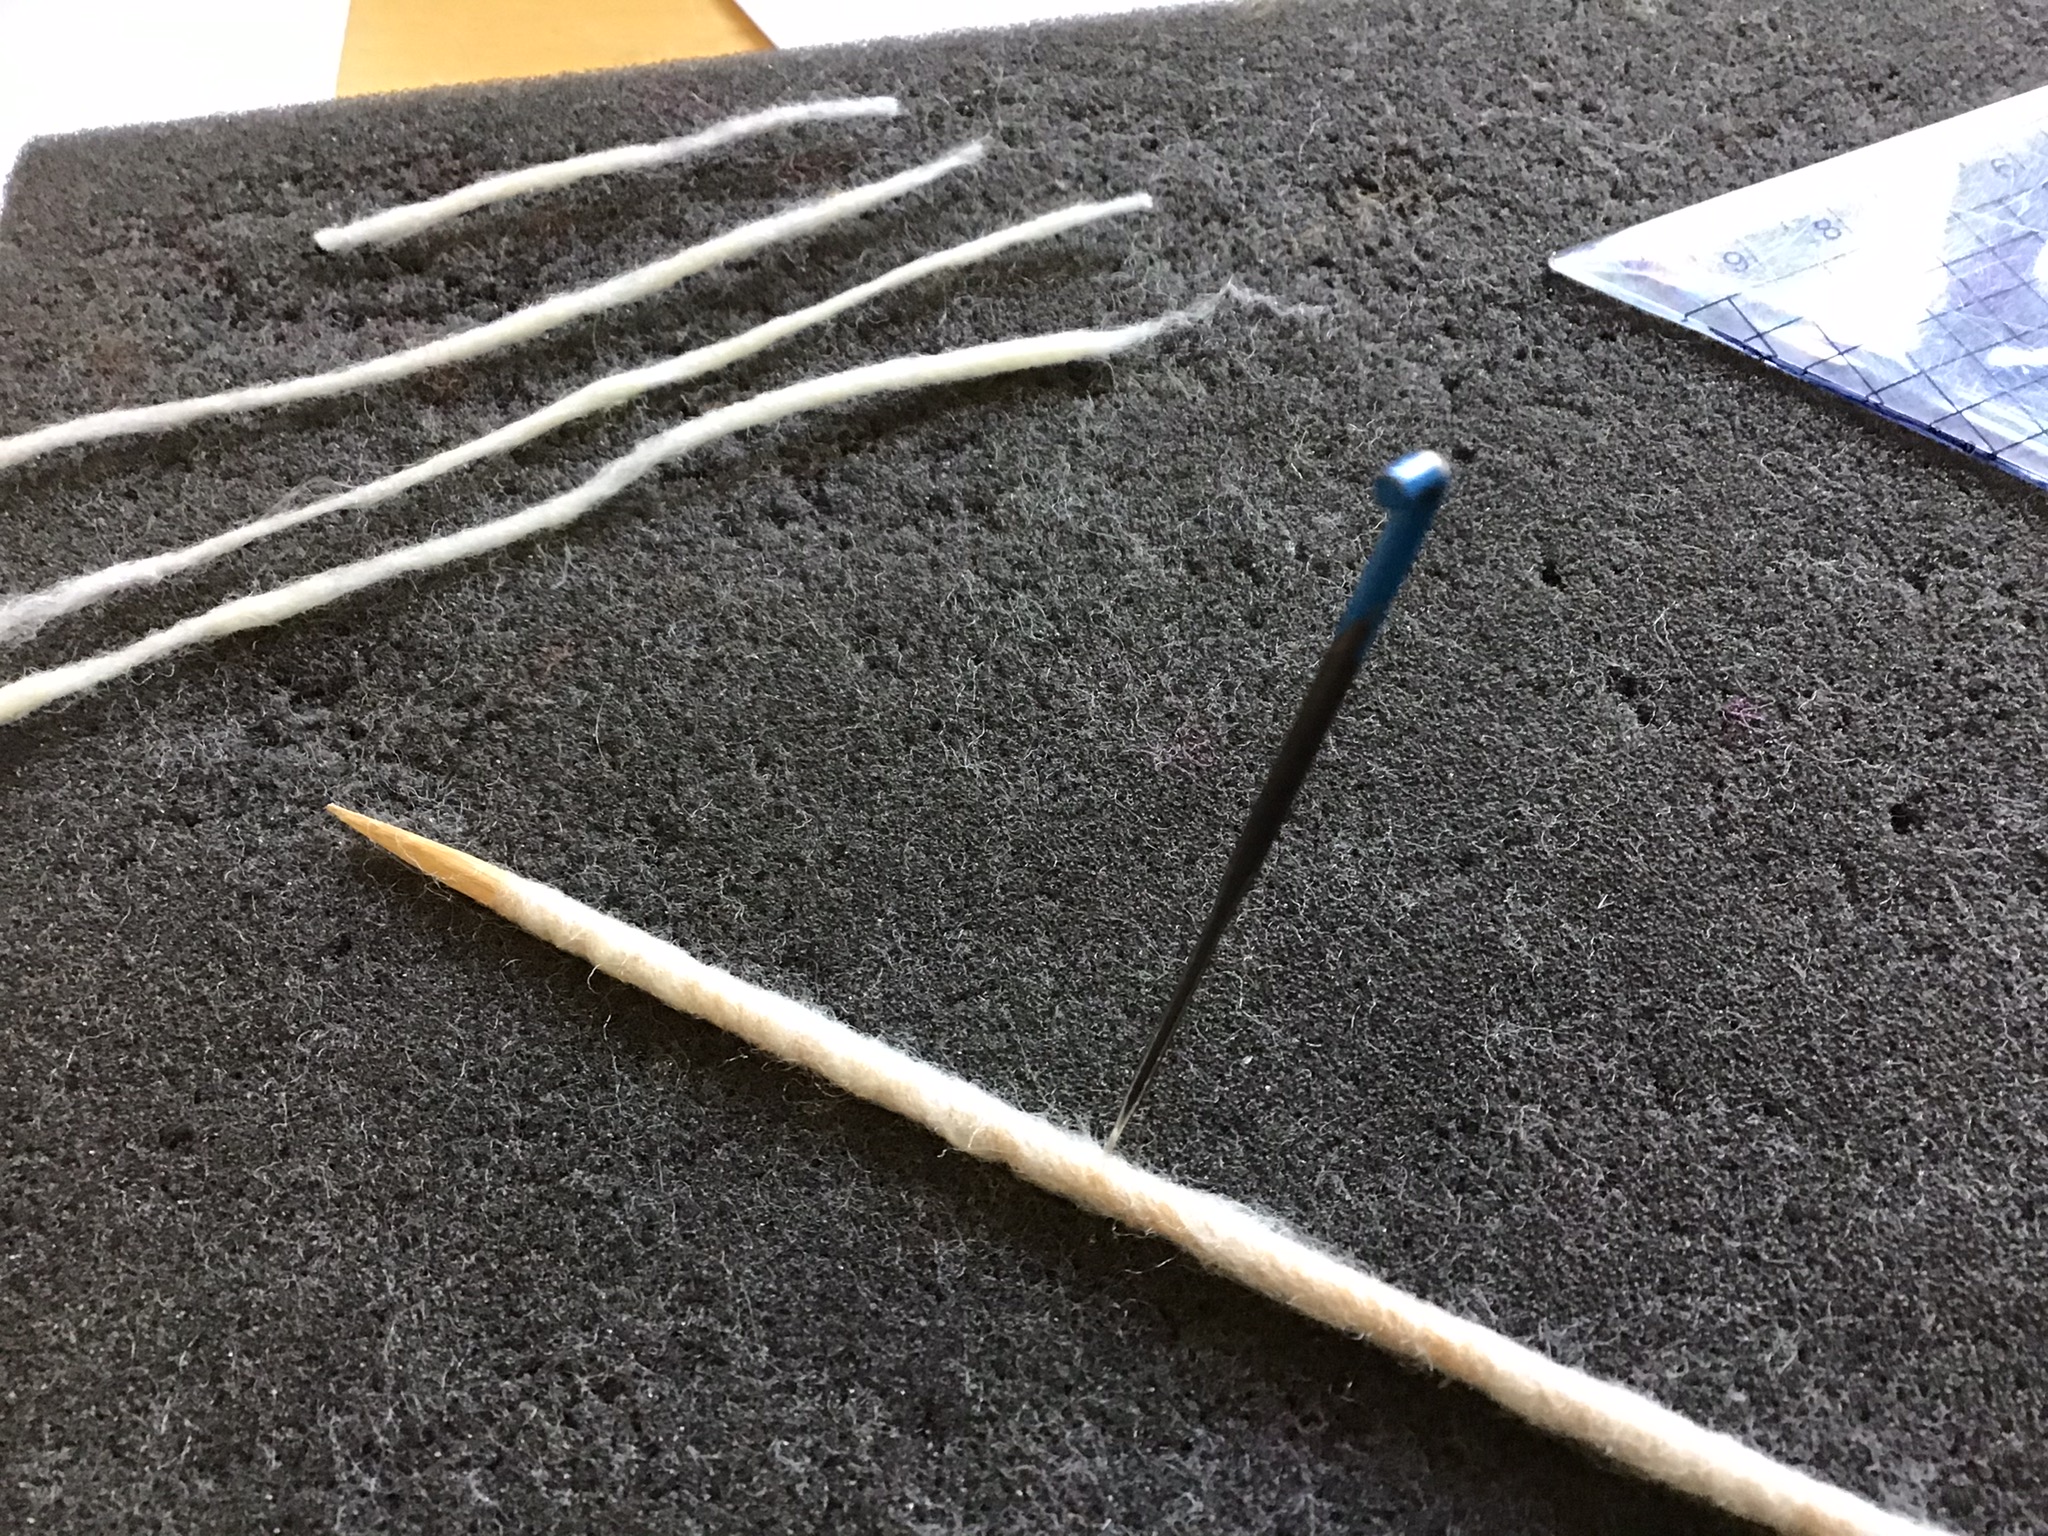
For the suns rays I cut out two different shapes from thick felt to make a sort of stencil to felt into. This makes it much easier to make consistent shapes. Cheeks were formed from circles added and felted over to join in.


I started to make a moon and realised the overlapping noses posed a logistical problem. I was very happy with the nose I had made for the sun and did not want to spoil this so decided to make the sun on its own and the moon with maybe some stars and a night sky. I focused on the sun first , made more rays and lined the eyes for dramatic effect. The lips were formed onto a raised area of the mouth.


Some rosy cheeks finished off her look (it’s hot work being a celestial being) and now time to attach the rays.


Nearly done.
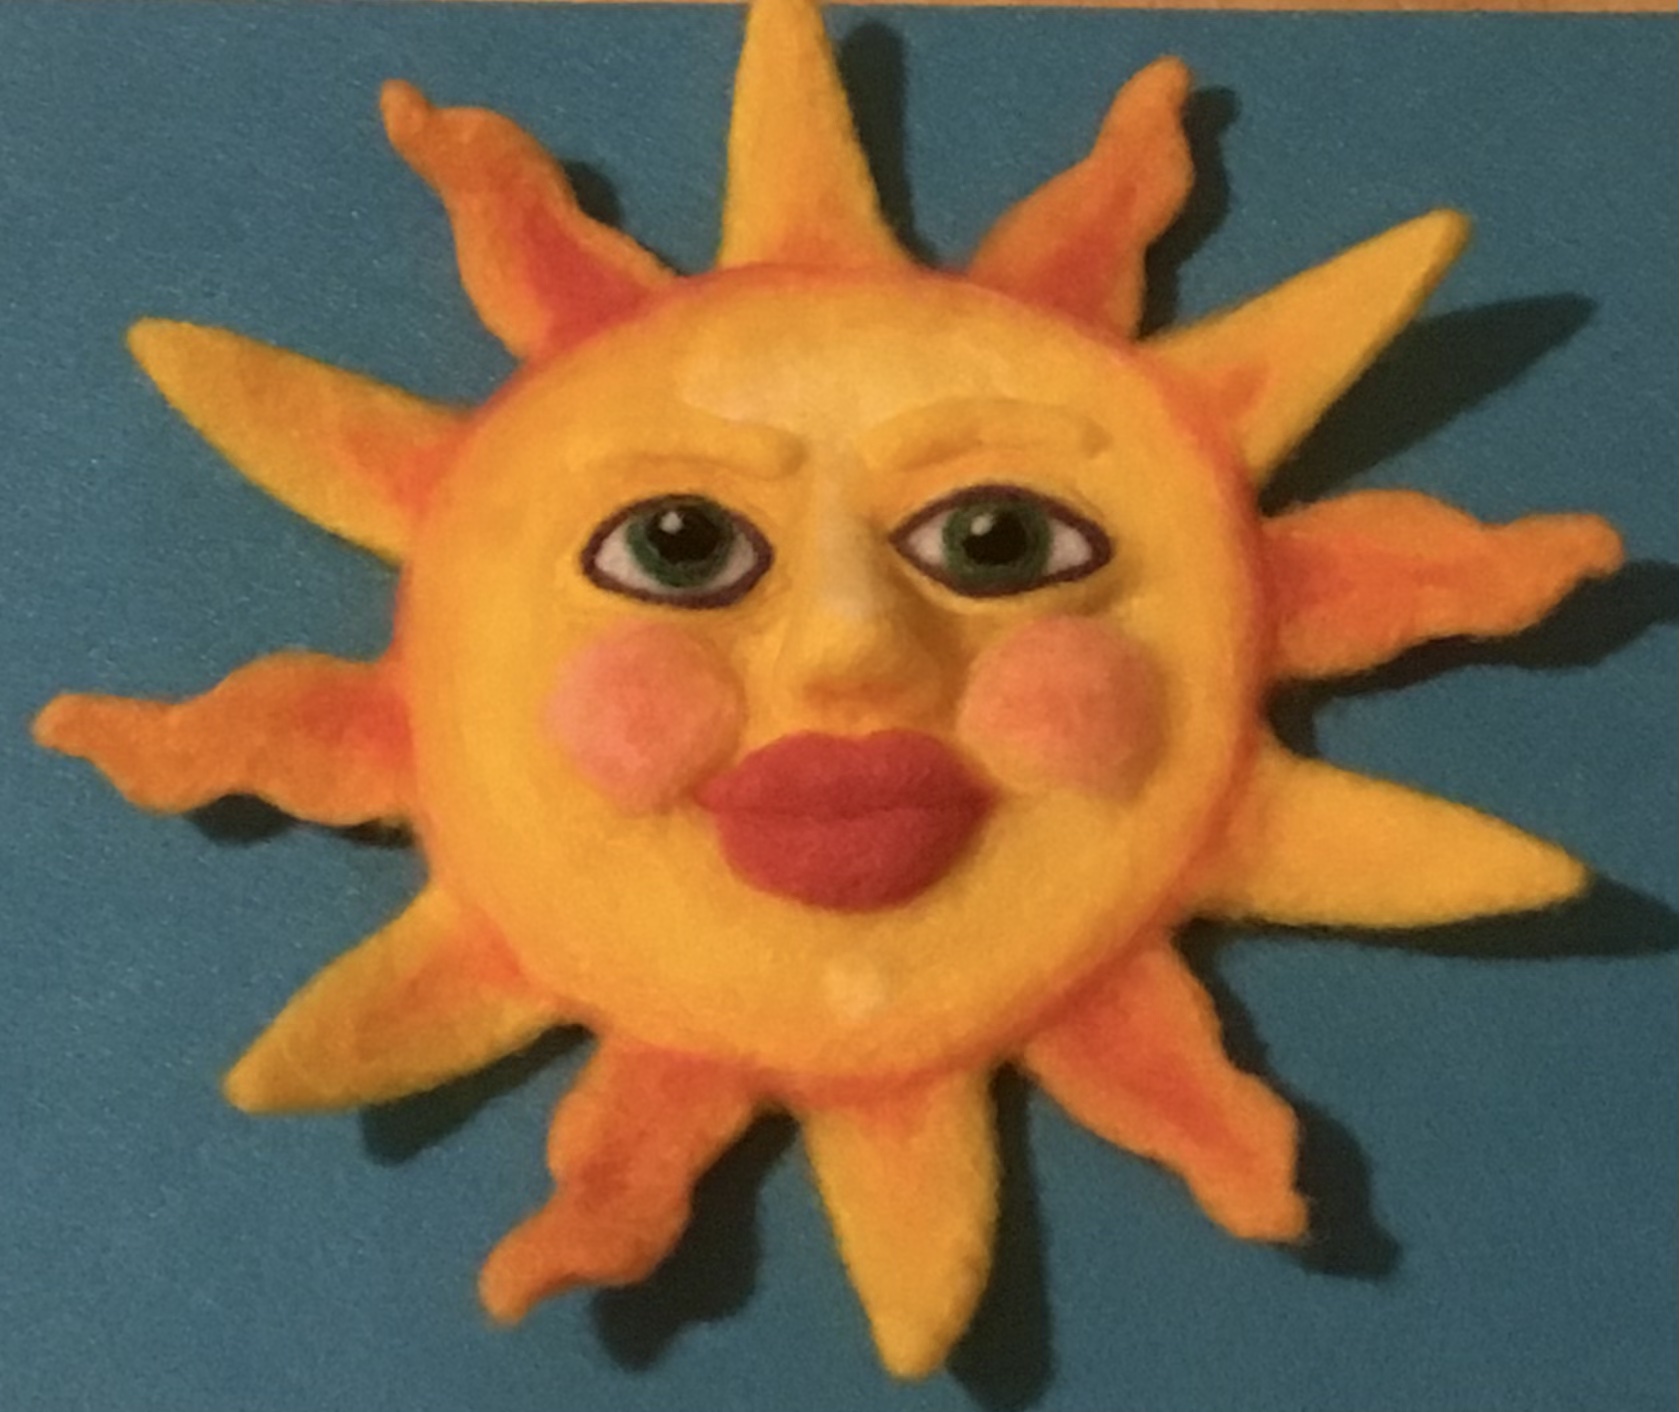
And finished.
Now to start sorting the moon.